solaris 10 installation on an ultra 10
Prelude to a .... installation
I connected the VGA output port of the ultra to my 15" LCD monitor and powered it on. Blank. Nothing on the screen. Only the sound of the hard disk whirring. Hmm. So I need a special "sun" cable to connect the 1st graphics port to a VGA monitor ? After searching high and low and not finding I found this post on sun forums on doing a google search. Similar to what I was seeing. In fact almost the same. Apparently that 1st graphics port is installed on something called a UPA slot. Following the instructions in that post I first removed that framebuffer device. After power up I could see the output on my monitor. Phew so one thing solved. You have to hit the STOP key and 'A' at the same time to come to the 'ok' prompt.
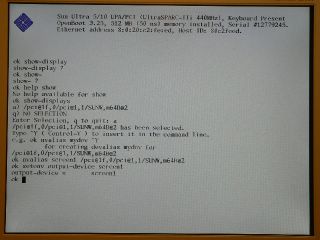
As shown in the image type the following commands
ok> show-displays
select the only device shown, in this case 'a'.
Then type
ok> nvalias screen1 <ctrl-y>
ok> setenv output-display screen1
After powering down the device and reconnecting that graphics card on the UPA slot I expected the display to be on the VGA graphics output(2nd graphics card) by default. But I got the same old hard disk whirring with blank screen. Found the problem finally it looks like I didnt connect the graphics card tight enough. With enough strength and a snap sound everything was set. The graphics is now on the VGA output.
Installation
Before proceeding make sure that you have the 4 solaris 10 install CDs for SPARC. You can get from here. Insert CD-1 into the CD drive and reboot the machine. After the machine is up and has completed "initializing memory" press STOP-A(both keys at the same time) to come to the 'ok' prompt. At the 'ok' prompt type
ok> boot cdrom
The system will reboot and boot up from the CD. The first screen that appears is the language screen

Type the number corresponding to the language that you are comfortable with and hit enter. The installation screen then pops up giving some basic information about what the installer will do next.
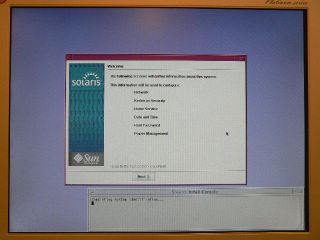
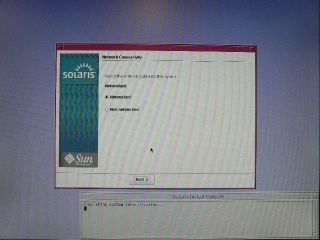
Press the 'next' button. The networking screen appears asking you if the computer is networked or not. Since my computer is on a home network(i.e connected via ethernet to other PCs) I checked the "Networked" screen and pressed 'Next'.
If you are connected to an ISP who assigns IP addresses automatically to your network you might want to check the 'Yes' box here. In my case I was assigning the IP address myself so I checked 'no'. Press 'Next'

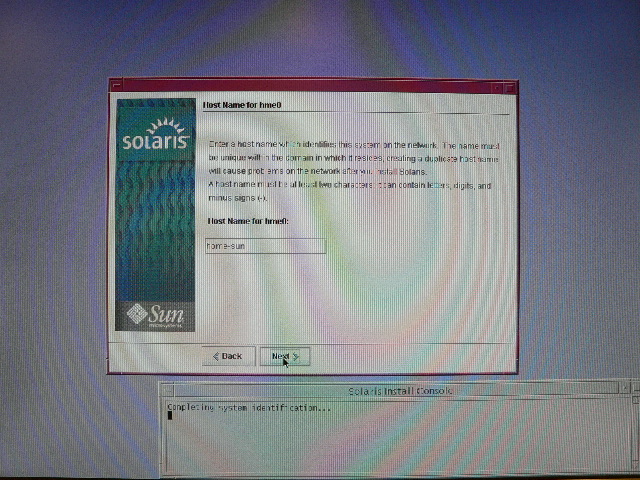
Enter the hostname for the computer here.

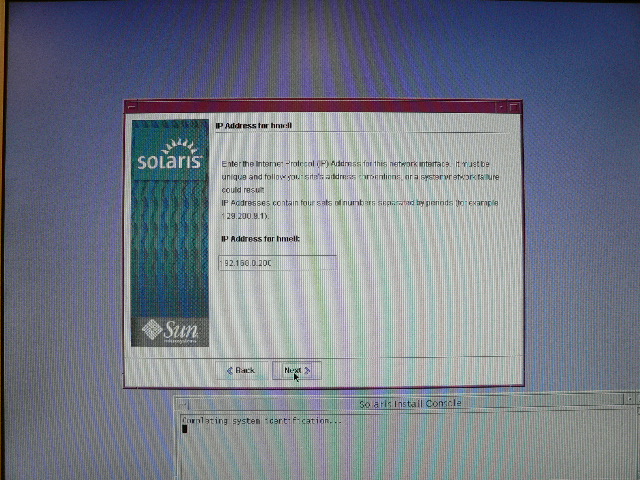
Since we are assigning the IP address of this machine ourselves we get the following screen
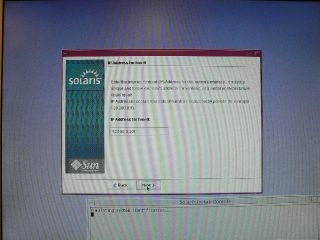
Type the IP address and press 'Next'.

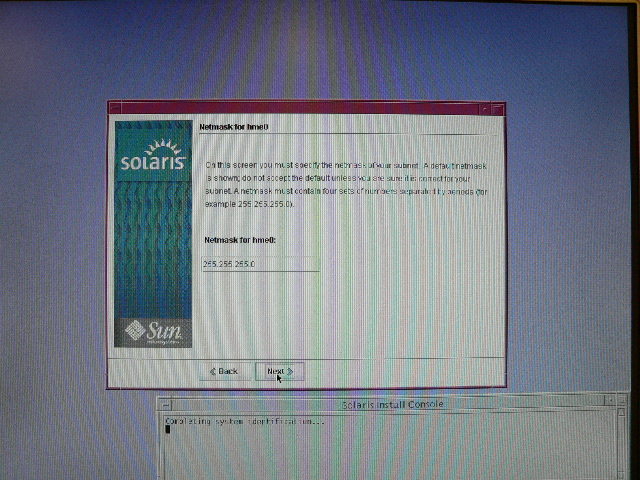
Enter the netmask for this network. 255.255.255.0
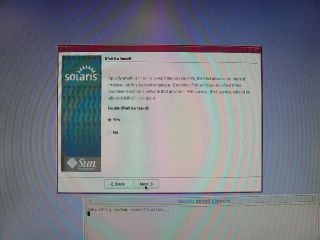
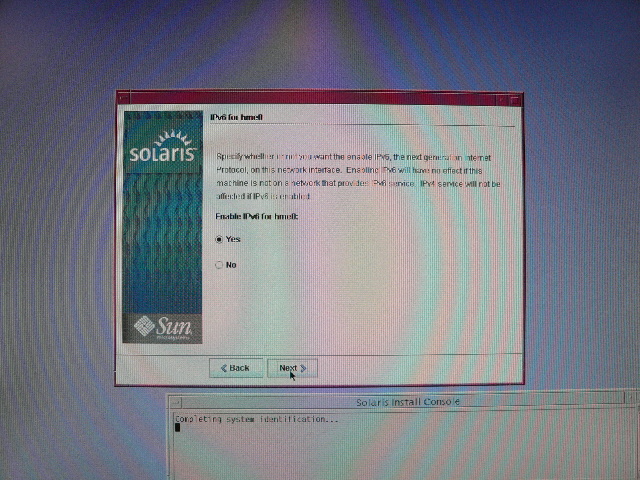
This screen asks you whether you want to enable IPv6 on this network adapter. Since it didn't make much difference I enabled it by checking the 'yes' button. Press 'Next'
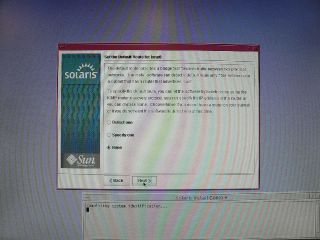
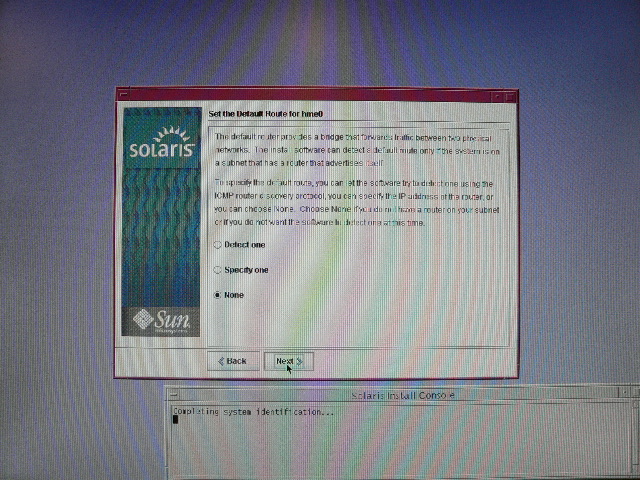
If you know the ip address of the router on your network you can specify that you know one here. Alternately you can request that solaris itself detect the router. The router needs to advertise itself for this to work. If there is no router just check 'None' and press 'Next'
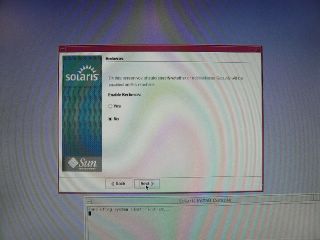
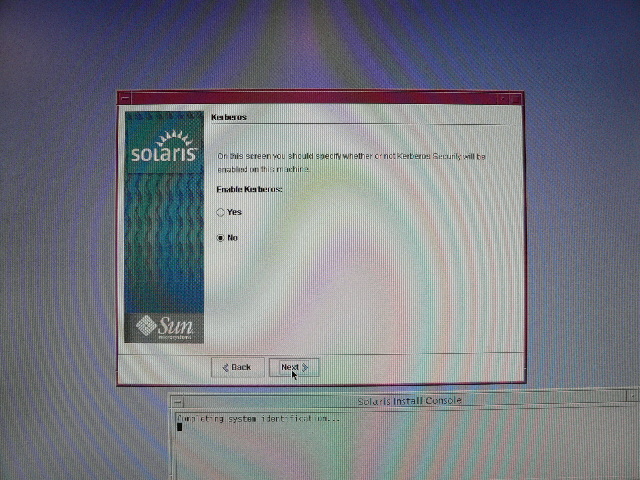
Check 'Yes' here if you want to enable Kerberos security other check 'No'. Then press 'Next'
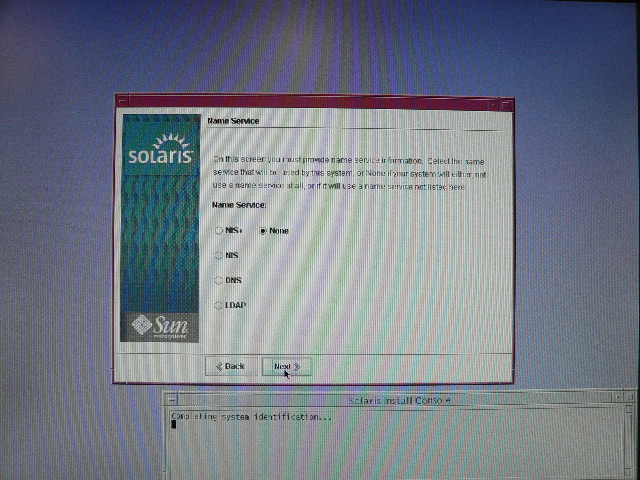
If know the name service information for your network you can specify it here. In my case there wasn't any. So check 'None' and press 'Next'

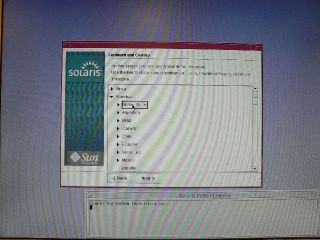
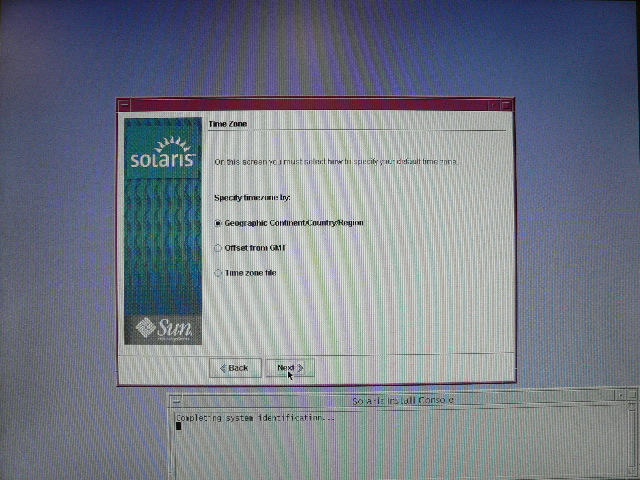
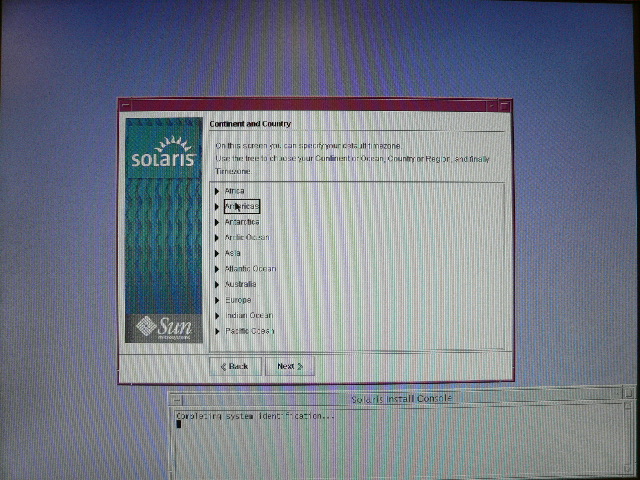
The next screen is for timezones. You can specify your timezone either by continent/country or offset from GMT. In checked the "continent/country" timezone since I'm not always sure about offset from GMT(due to DST).

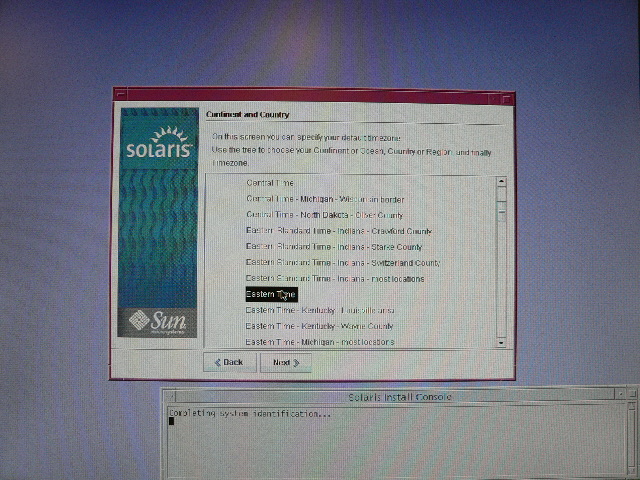
The next 3 screens just allow you to get to the time zone you are currently in via continent/country.


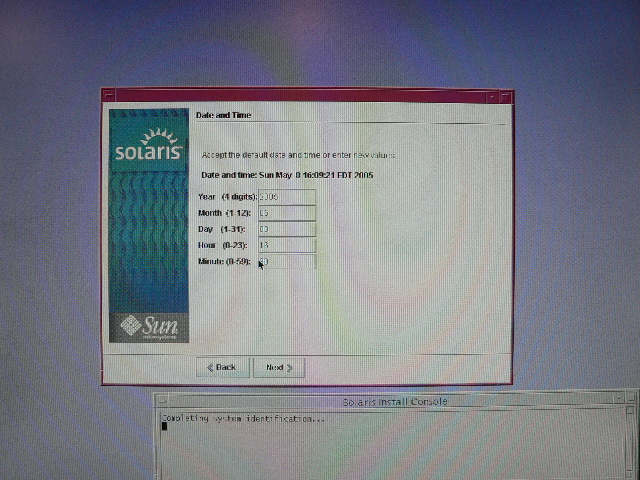
You can specify the local time here

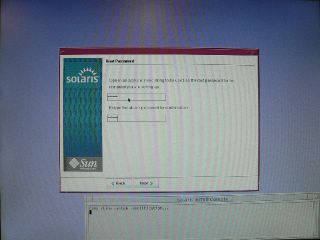
Enter the root password here and dont forget it otherwise there may be no way for you to get into the machine
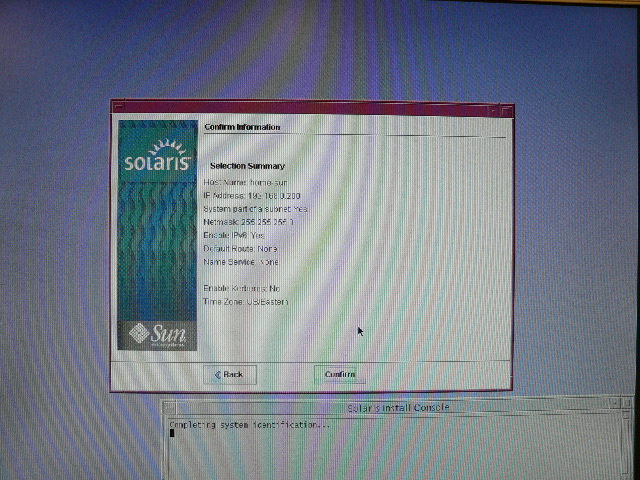
This screen shows all the information that you have entered until now. Check it to make sure that everything is ok. If anything is amiss press the 'back' button else press 'Next'.

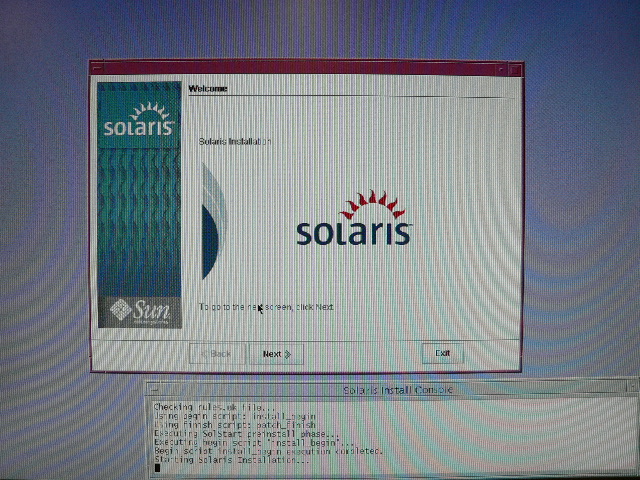
You are now presented with a solaris welcome screen. From here on your installation should start without requiring you to enter any more information except for pressing some buttons!!!!. Press 'Next'

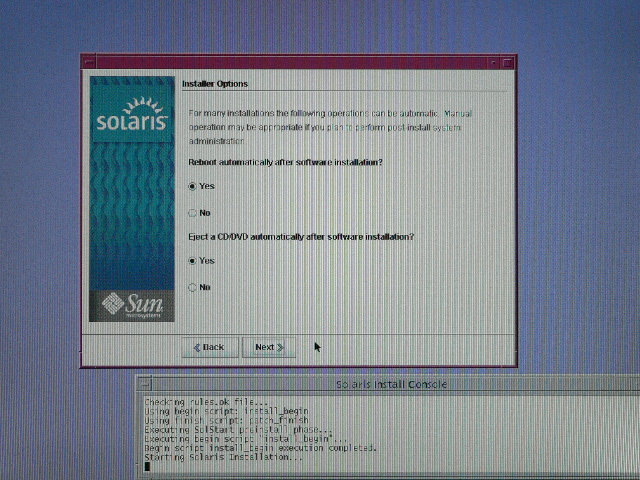
This screen presents you with an option of whether you want to manually eject a CD or not and whether the system should reboot automatically or not. Check the "manual reboot" box and the "auto eject" box. The reason why I checked manual reboot will come later

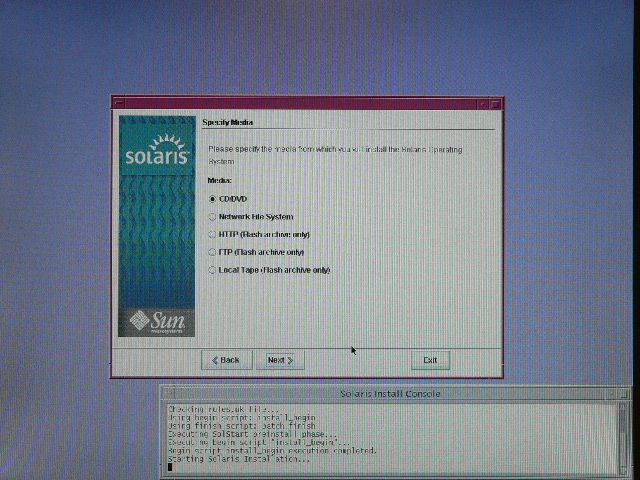
Specify how you want to install Solaris. Since we have all the CDs we can check the "CD/DVD" checkbox and press 'Next'.

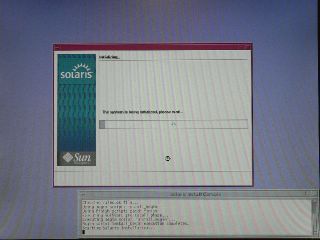
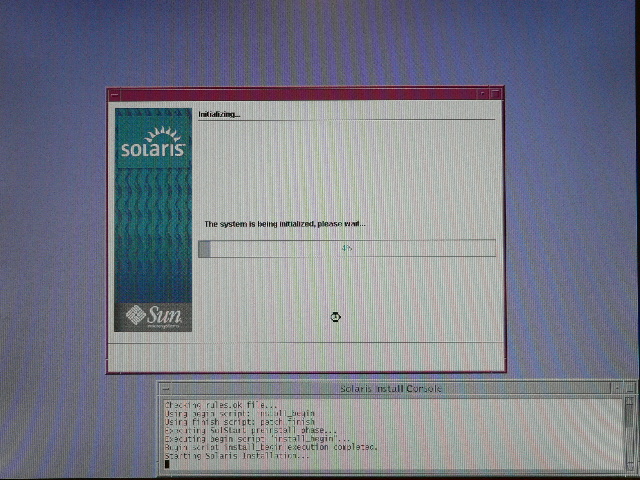
You now get a screen saying "Initializing". Just sit back and relax a bit.
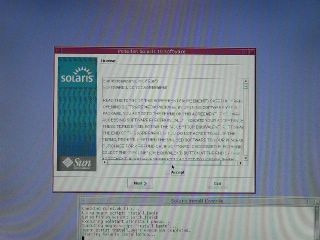
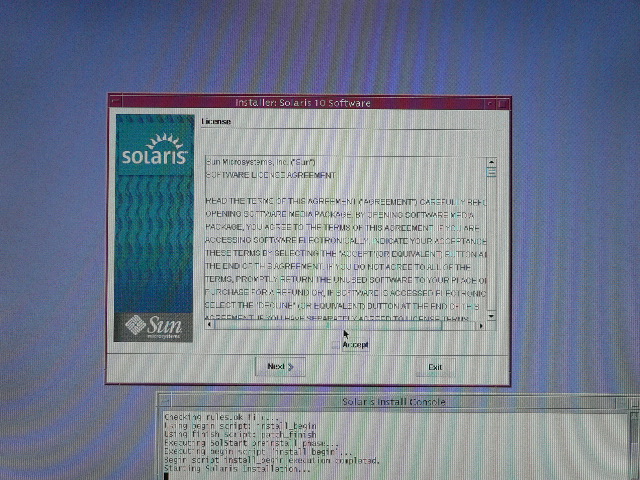
The license terms for Solaris are shown. Read it, check 'Accept' and then press 'Next'
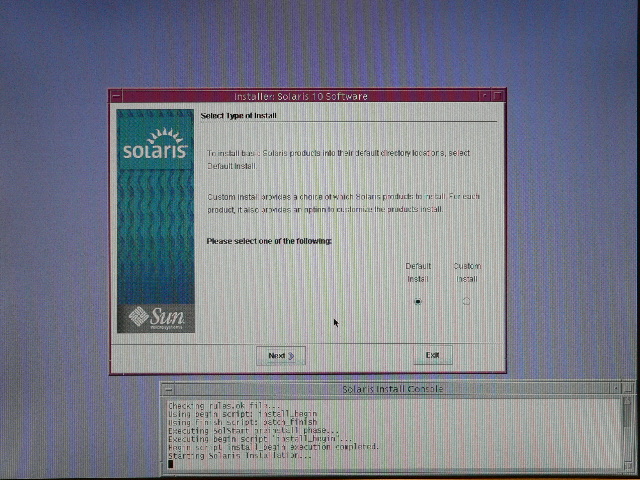
We are now presented with an option of whether to do a default install or a custom solaris install. Novices(uugh me) will check "default install" and then press 'Next'

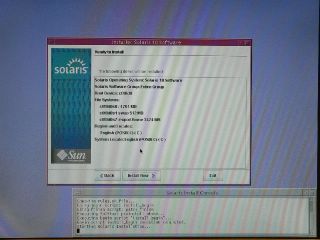
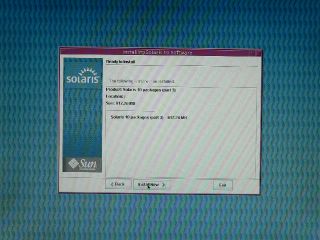
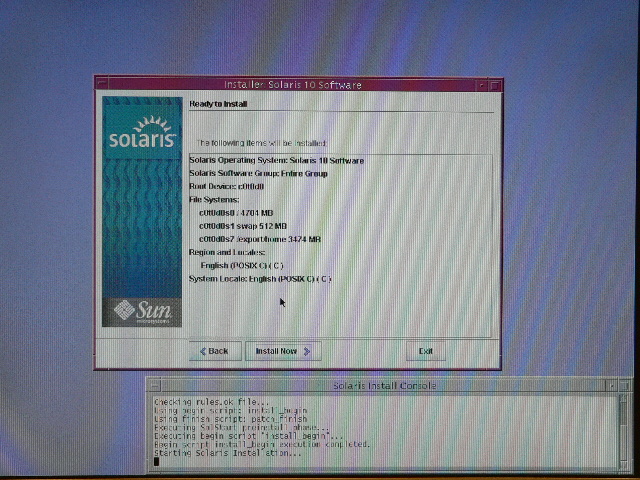
We are then presented with all the info entered. Verify if accurate. If not press 'Back' to change otherwise press 'Install Now'
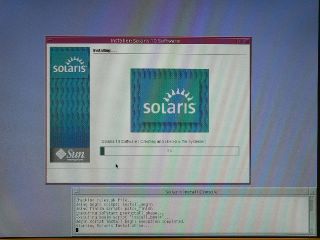
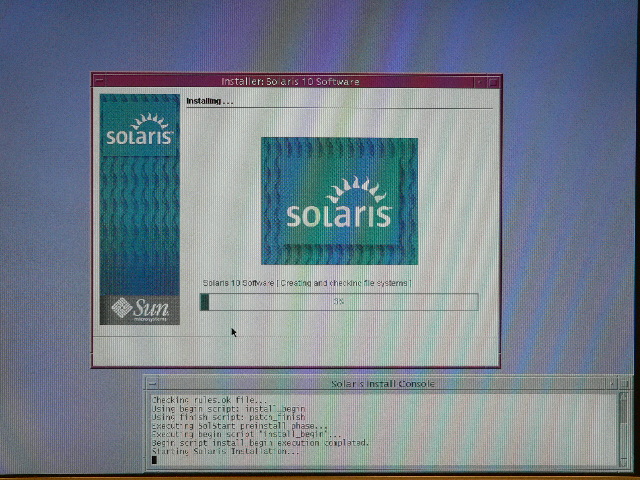
Installation begins.... Nows the time to get up and stretch those legs.
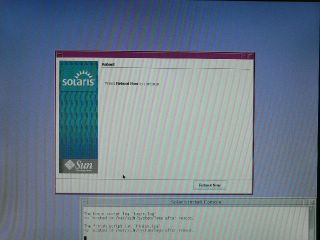
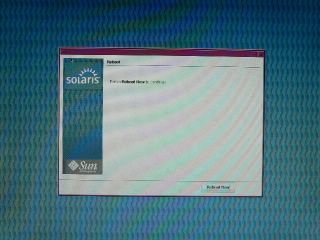
First CD is done!!!!!. Press "Reboot Now" to reboot the machine.
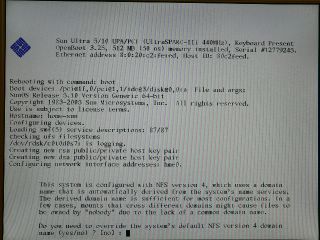
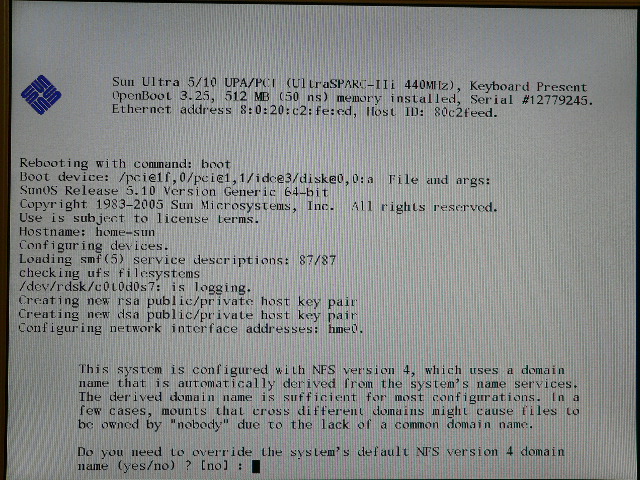
This time when the machine comes up you are asked whether you want a different version of NFS than tha default(4). I have no clue what this actually means so I am sticking with the default. Without typing anything hit enter.
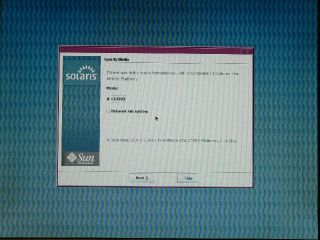
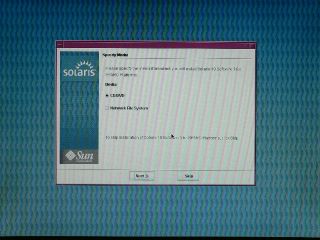
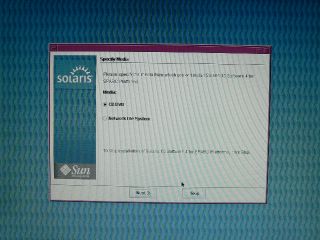
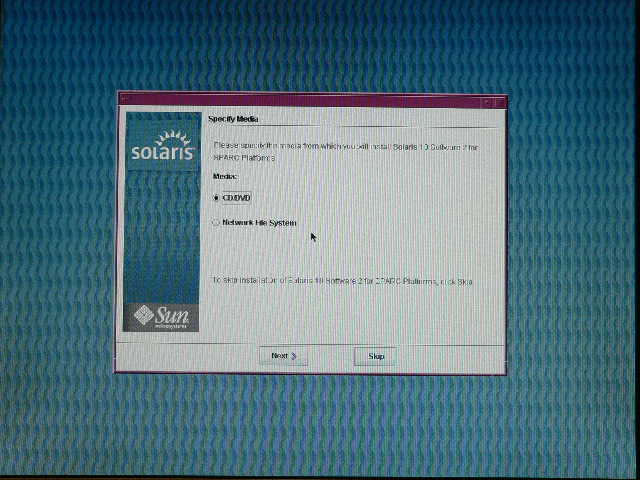
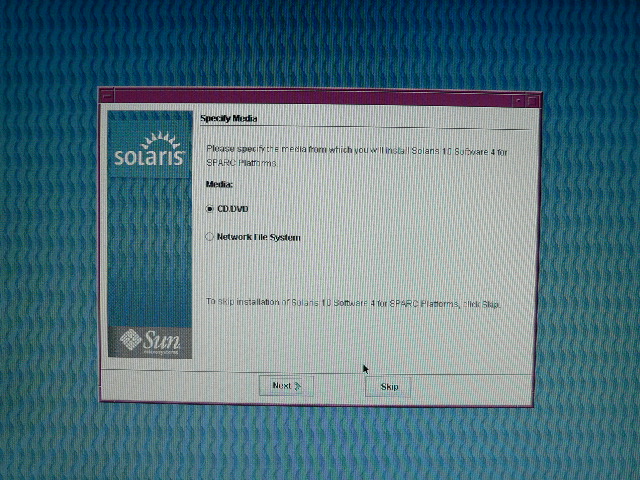
Specify which media you will use to install the second software CD. In our case it will be "CD/CVD" again. Check that and press 'Next'
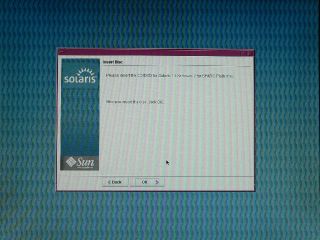
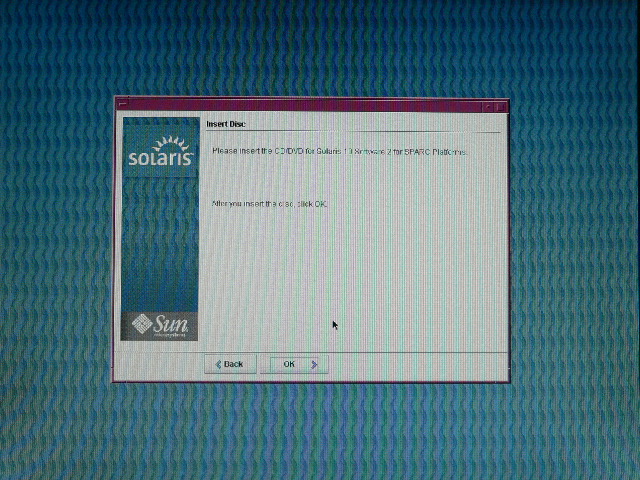
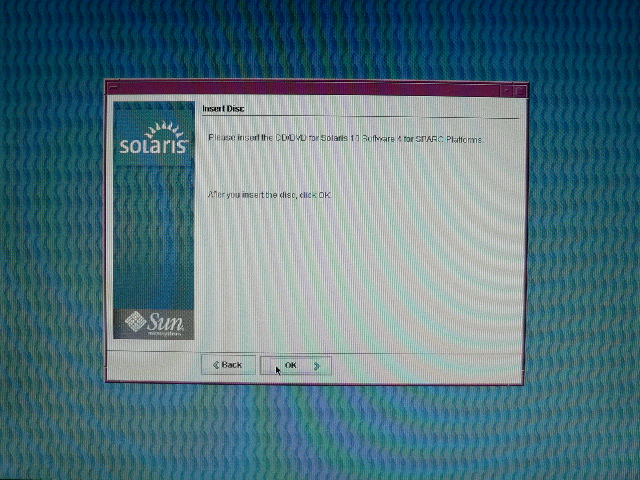
If you haven't removed the CD-1 from the drive it recognises that that isn't the correct CD and prompts you to insert CD-2. Eject CD-1 from the drive and insert CD-2. Then press 'OK'
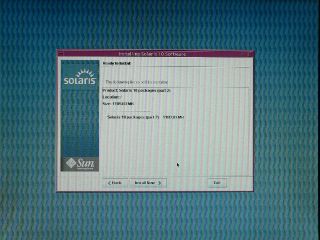
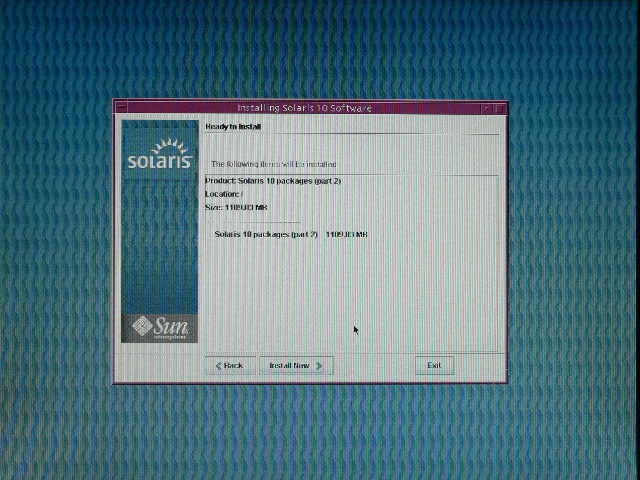
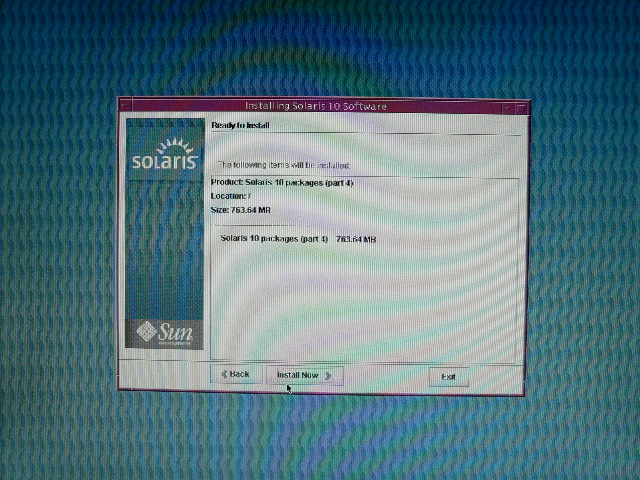
The system retrieves information from the CD and displays how much data it is going to install from CD-2. Press 'Install Now'
Installation of CD-2 is completed and you are prompted as to how you want to install the third software CD. Check 'CD/DVD' and press 'Next'
The system prompts you to insert the third software CD. Eject the CD-2 from the drive and insert CD-3. Then press 'OK'. The system retrieves information from the CD and displays how much data it is going to install from CD-3. Press 'Install Now'
Installation of CD-3 is completed and you are prompted as to how you want to install the third software CD. Check 'CD/DVD' and press 'Next'
Insert CD-4 and press 'OK'

The system retrieves information from the CD and displays how much data it is going to install. Press 'Install Now'

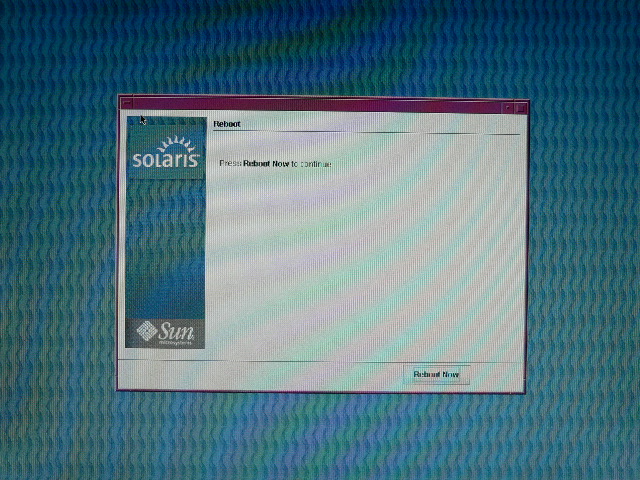
After installation of CD-4 is done we are presented with a final reboot option. Press 'Reboot Now'
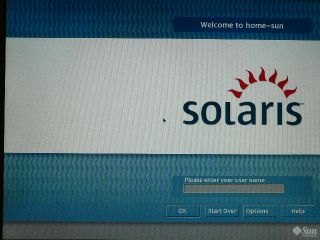
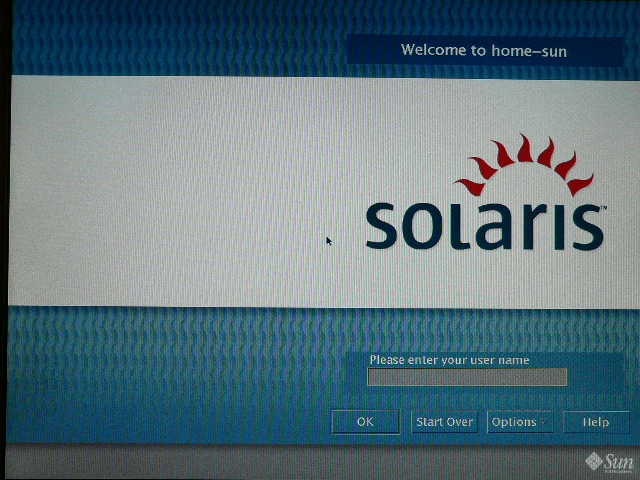
After rebooting the system gives a command line login prompt. Dont login right now. After waiting for some time the system displays a message "Starting X manager on display :0" or some such thing. Then you get a graphical login screen
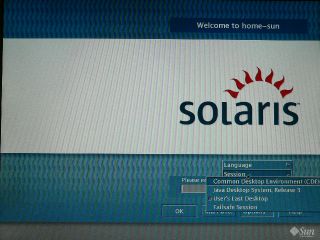
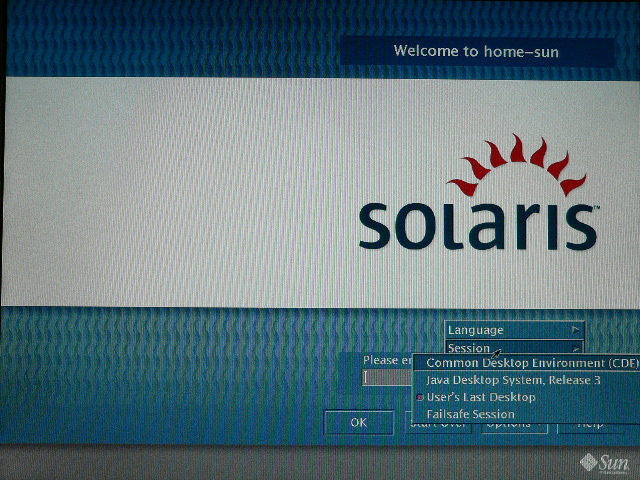
The default desktop is CDE. If you prefer JDS(Java Desktop) press 'Options' then 'Session' and then select 'Java Desktop System' as shown
Enter username and password to login. You are all set.
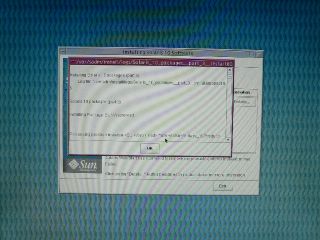
Now of course one gets the impression that everything went on without a hitch and what not. Actually I have to confess something. There were problems during installation of CDs 2 and 3 which I have ommitted here for brevity as I have had the previous experience of flawless installations. The screen shots depicted above would make up a "typical" installation. When you have errors you get a screen like this

If you press 'Details' you can get a better picture about what had happened.
The first line in the dialog shows you the file to which the installation log was written to.
You can open the log file by first getting to a console window. Right clicking anywhere on the screen other than the windows gets you a popup menu on which you have to click "Hosts" then click "Terminal Console". Use your favourite editor to view the log. Most probably the log would say that uncompressing archive blah-blah.bz2 failed. You have to take this to mean that the CDs that you have either haven't been burnt correctly or there may be some scratches on the CD making some files unreadable. Only solution would be to burn the CDs again. Since we had checked the "manual reboot" checkbox previously the system wont reboot until we press the "Reboot Now" or "Exit" buttons on these error screens. This gives us an opportunity to examine errors and see what went wrong otherwise for "auto reboot" the system would have rebooted by then without giving us an inkling of what happened. Actually unless we were physically in front of the computer during the entire process we wouldnt have known that the install failed. Now you know the reason behing the choice of having manual reboot.....
I connected the VGA output port of the ultra to my 15" LCD monitor and powered it on. Blank. Nothing on the screen. Only the sound of the hard disk whirring. Hmm. So I need a special "sun" cable to connect the 1st graphics port to a VGA monitor ? After searching high and low and not finding I found this post on sun forums on doing a google search. Similar to what I was seeing. In fact almost the same. Apparently that 1st graphics port is installed on something called a UPA slot. Following the instructions in that post I first removed that framebuffer device. After power up I could see the output on my monitor. Phew so one thing solved. You have to hit the STOP key and 'A' at the same time to come to the 'ok' prompt.
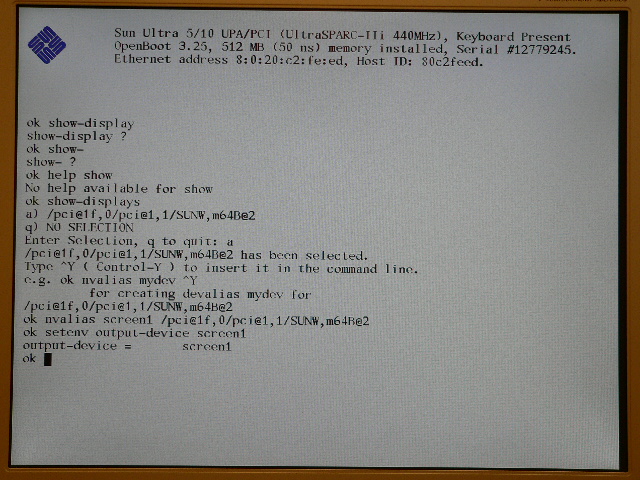
As shown in the image type the following commands
ok> show-displays
select the only device shown, in this case 'a'.
Then type
ok> nvalias screen1 <ctrl-y>
ok> setenv output-display screen1
After powering down the device and reconnecting that graphics card on the UPA slot I expected the display to be on the VGA graphics output(2nd graphics card) by default. But I got the same old hard disk whirring with blank screen. Found the problem finally it looks like I didnt connect the graphics card tight enough. With enough strength and a snap sound everything was set. The graphics is now on the VGA output.
Installation
Before proceeding make sure that you have the 4 solaris 10 install CDs for SPARC. You can get from here. Insert CD-1 into the CD drive and reboot the machine. After the machine is up and has completed "initializing memory" press STOP-A(both keys at the same time) to come to the 'ok' prompt. At the 'ok' prompt type
ok> boot cdrom
The system will reboot and boot up from the CD. The first screen that appears is the language screen
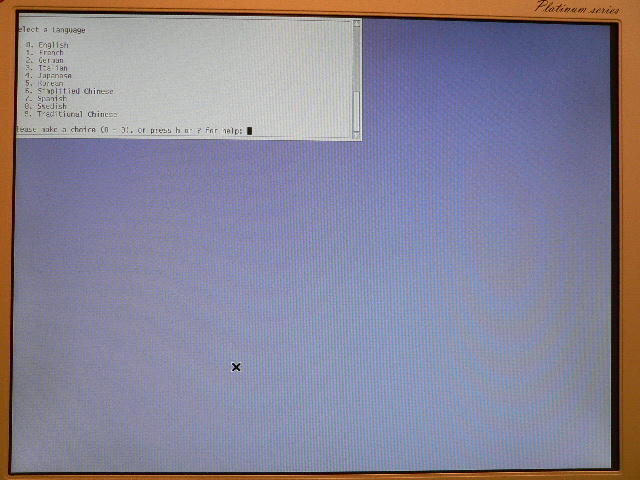
Type the number corresponding to the language that you are comfortable with and hit enter. The installation screen then pops up giving some basic information about what the installer will do next.

Press the 'next' button. The networking screen appears asking you if the computer is networked or not. Since my computer is on a home network(i.e connected via ethernet to other PCs) I checked the "Networked" screen and pressed 'Next'.

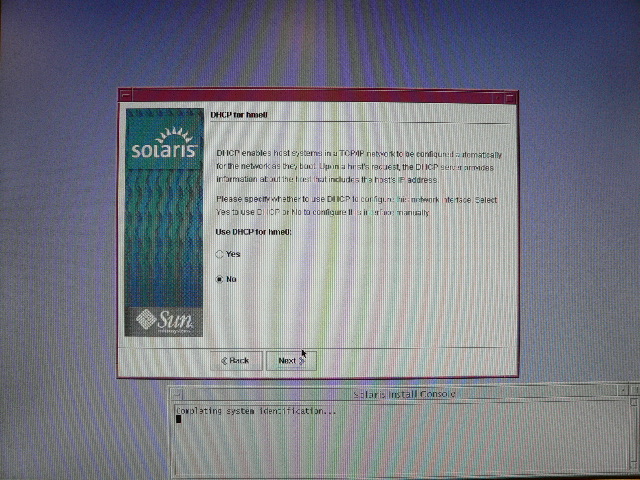
If you are connected to an ISP who assigns IP addresses automatically to your network you might want to check the 'Yes' box here. In my case I was assigning the IP address myself so I checked 'no'. Press 'Next'
Enter the hostname for the computer here.
Since we are assigning the IP address of this machine ourselves we get the following screen
Type the IP address and press 'Next'.
Enter the netmask for this network. 255.255.255.0
This screen asks you whether you want to enable IPv6 on this network adapter. Since it didn't make much difference I enabled it by checking the 'yes' button. Press 'Next'
If you know the ip address of the router on your network you can specify that you know one here. Alternately you can request that solaris itself detect the router. The router needs to advertise itself for this to work. If there is no router just check 'None' and press 'Next'
Check 'Yes' here if you want to enable Kerberos security other check 'No'. Then press 'Next'
If know the name service information for your network you can specify it here. In my case there wasn't any. So check 'None' and press 'Next'
The next screen is for timezones. You can specify your timezone either by continent/country or offset from GMT. In checked the "continent/country" timezone since I'm not always sure about offset from GMT(due to DST).
The next 3 screens just allow you to get to the time zone you are currently in via continent/country.

You can specify the local time here
Enter the root password here and dont forget it otherwise there may be no way for you to get into the machine

This screen shows all the information that you have entered until now. Check it to make sure that everything is ok. If anything is amiss press the 'back' button else press 'Next'.
You are now presented with a solaris welcome screen. From here on your installation should start without requiring you to enter any more information except for pressing some buttons!!!!. Press 'Next'
This screen presents you with an option of whether you want to manually eject a CD or not and whether the system should reboot automatically or not. Check the "manual reboot" box and the "auto eject" box. The reason why I checked manual reboot will come later
Specify how you want to install Solaris. Since we have all the CDs we can check the "CD/DVD" checkbox and press 'Next'.
You now get a screen saying "Initializing". Just sit back and relax a bit.
The license terms for Solaris are shown. Read it, check 'Accept' and then press 'Next'
We are now presented with an option of whether to do a default install or a custom solaris install. Novices(uugh me) will check "default install" and then press 'Next'
We are then presented with all the info entered. Verify if accurate. If not press 'Back' to change otherwise press 'Install Now'
Installation begins.... Nows the time to get up and stretch those legs.
First CD is done!!!!!. Press "Reboot Now" to reboot the machine.

This time when the machine comes up you are asked whether you want a different version of NFS than tha default(4). I have no clue what this actually means so I am sticking with the default. Without typing anything hit enter.
Specify which media you will use to install the second software CD. In our case it will be "CD/CVD" again. Check that and press 'Next'
If you haven't removed the CD-1 from the drive it recognises that that isn't the correct CD and prompts you to insert CD-2. Eject CD-1 from the drive and insert CD-2. Then press 'OK'
The system retrieves information from the CD and displays how much data it is going to install from CD-2. Press 'Install Now'
Installation of CD-2 is completed and you are prompted as to how you want to install the third software CD. Check 'CD/DVD' and press 'Next'

The system prompts you to insert the third software CD. Eject the CD-2 from the drive and insert CD-3. Then press 'OK'. The system retrieves information from the CD and displays how much data it is going to install from CD-3. Press 'Install Now'

Installation of CD-3 is completed and you are prompted as to how you want to install the third software CD. Check 'CD/DVD' and press 'Next'
Insert CD-4 and press 'OK'
The system retrieves information from the CD and displays how much data it is going to install. Press 'Install Now'
After installation of CD-4 is done we are presented with a final reboot option. Press 'Reboot Now'
After rebooting the system gives a command line login prompt. Dont login right now. After waiting for some time the system displays a message "Starting X manager on display :0" or some such thing. Then you get a graphical login screen
The default desktop is CDE. If you prefer JDS(Java Desktop) press 'Options' then 'Session' and then select 'Java Desktop System' as shown
Enter username and password to login. You are all set.
Now of course one gets the impression that everything went on without a hitch and what not. Actually I have to confess something. There were problems during installation of CDs 2 and 3 which I have ommitted here for brevity as I have had the previous experience of flawless installations. The screen shots depicted above would make up a "typical" installation. When you have errors you get a screen like this
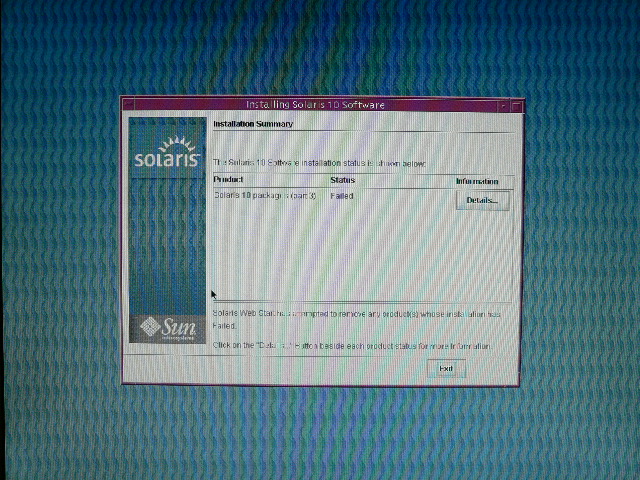
If you press 'Details' you can get a better picture about what had happened.
The first line in the dialog shows you the file to which the installation log was written to.
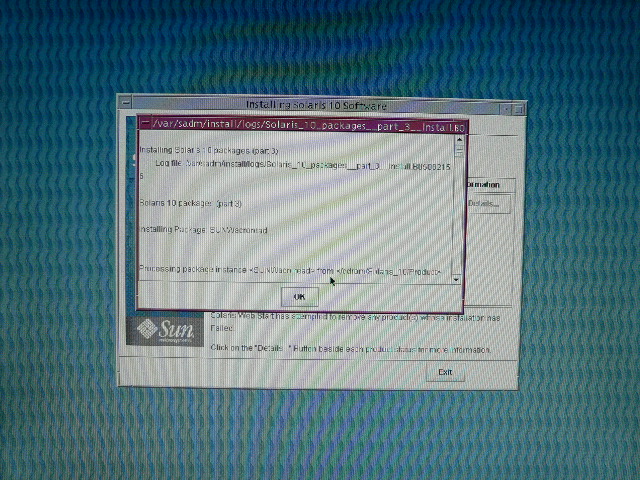
You can open the log file by first getting to a console window. Right clicking anywhere on the screen other than the windows gets you a popup menu on which you have to click "Hosts" then click "Terminal Console". Use your favourite editor to view the log. Most probably the log would say that uncompressing archive blah-blah.bz2 failed. You have to take this to mean that the CDs that you have either haven't been burnt correctly or there may be some scratches on the CD making some files unreadable. Only solution would be to burn the CDs again. Since we had checked the "manual reboot" checkbox previously the system wont reboot until we press the "Reboot Now" or "Exit" buttons on these error screens. This gives us an opportunity to examine errors and see what went wrong otherwise for "auto reboot" the system would have rebooted by then without giving us an inkling of what happened. Actually unless we were physically in front of the computer during the entire process we wouldnt have known that the install failed. Now you know the reason behing the choice of having manual reboot.....
posted by Unix Explorer at
12:27 PM
|
0 comments
![]()
